Import Shapefiles
1. What is a shapefile?
A shapefile is a vector data storage format for storing the location, shape, and attributes of a geographic
feature or set of features. It is stored as a set of files in a GIS software program, such as ArcGIS, and
may be exported as a .zip file in order to be uploaded into TRACS to represent the location instead of
drawing a polygon or point.
2. Can shapefiles be used to create spatial data?
Yes. After following the instructions for adding a shapefile to TRACS, the features can be copied to represent the location of an Objective (for Direct Habitat and Species Management), Site, Facility, or Real Property Record. Note: No lines or multi-line features can be used in TRACS or loaded as shapefiles.
3. Are there restrictions on shapefiles (e.g. projection, datum, etc.)?
Prior to importing a shapefile into TRACS, you must ensure the shapefile is in a typically recognized coordinate system (e.g. UTM, state plane, geographic, etc.). Then, compress all the required files of a shapefile (*.shp, *.shx, *.dbf, *.prj) into a single *.zip file. The *.zip shapefile may then be added through the TRACS mapper.
The shapefile import utility is meant for importing site-specific project boundaries using a small shapefile size (i.e. < 500 MB). This is a ballpark estimate as the limitation of the tool is related to shape complexity (i.e. the number of vertices). The shapefile upload tool is not intended to work for large shapes that have complex boundaries such as states, counties, watersheds, etc. Instead, the geopicker tool should be used for static reference layers that are used frequently. Project boundaries with shapefiles in excess of 500 MB should be simplified (i.e. “generalized” with GIS software) to reduce the size of the file by reducing the number of vertices.
The shapefile import utility does not support three dimensional data such as associated altitude or depth data (Z geometry property) or measures data used for routes, linear referencing, and dynamic segmentation (M geometry property). Therefore, these two geometry properties must be disabled in order for the shapefile to be successfully imported.
There are multiple ways and tools available to disable the geometry properties. One way to accomplish it in ArcDesktop is to use the ArcToolbox -> Data Management Tools -> Features -> Copy Features tool. Give the input/output shapefile information and then select the Environments button. Under the M and Z Values settings, change the "Output has M Values" and "Output has Z Values" to "Disabled" from the list.
Note: ESRI has multiple versions of GIS software available, ArcDesktop and ArcGIS Pro.
3. How do I import a shapefile?
Shapefile Guidelines:
- Must be a zipped shapefile (*.zip)
- Must include polygon/multi-polygons
- Must be 2-dimensional coordinates
- Should use WGS84 / NAD83 coordinate system
- Shapefile must be smaller than 10 MB
- Large shapefiles may fail to load property (contact the TRACS Help Desk for assistance)
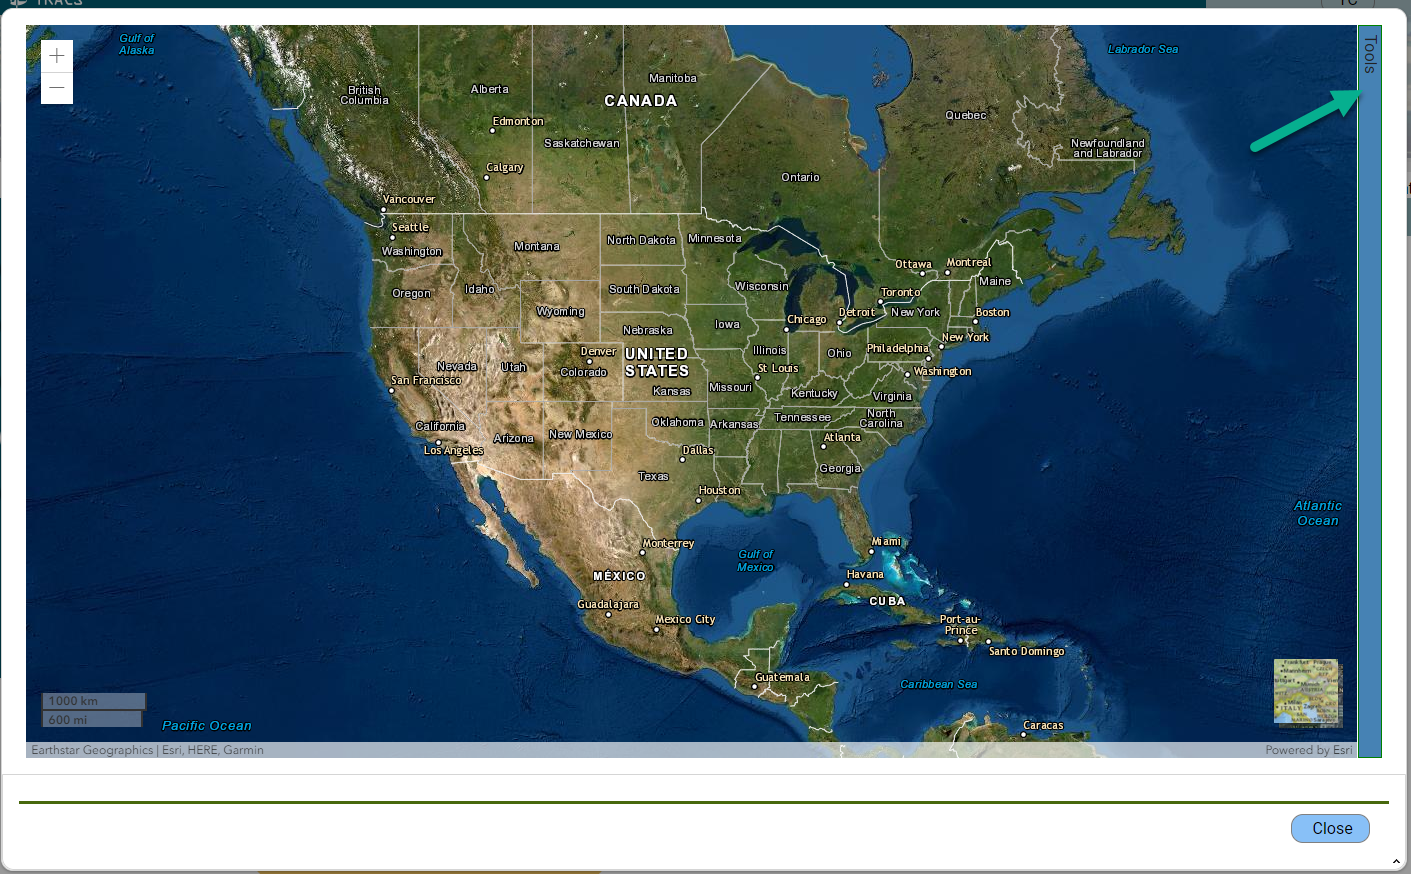
To access the "Import Shapefile" tool, select either the “Draw Polygon” or “Draw Point” button to open the mapper window. The mapper window opens. Select the “Tools” panel on the right side.
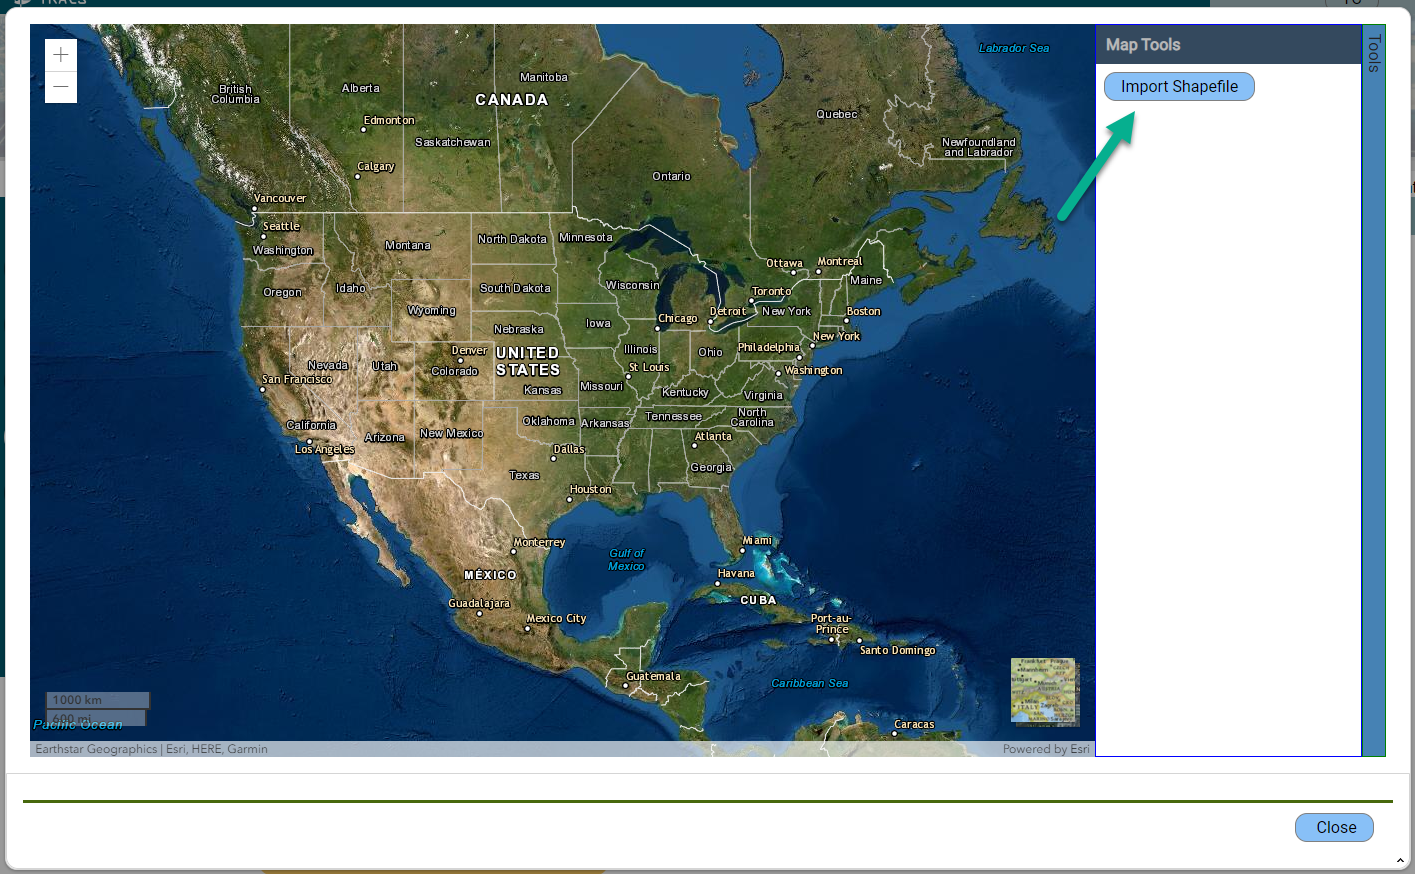
The Map Tools window opens. Click the “Import Shapefile” button.